Live Studio scenes: how to save and switch layouts during the live
A scene keeps the canvas as it is — layout, sources, banner, overlays and background — so you can come back to it with one click. Build "Opening", "Interview" and "Closing" before the live and switch on air without touching anything.
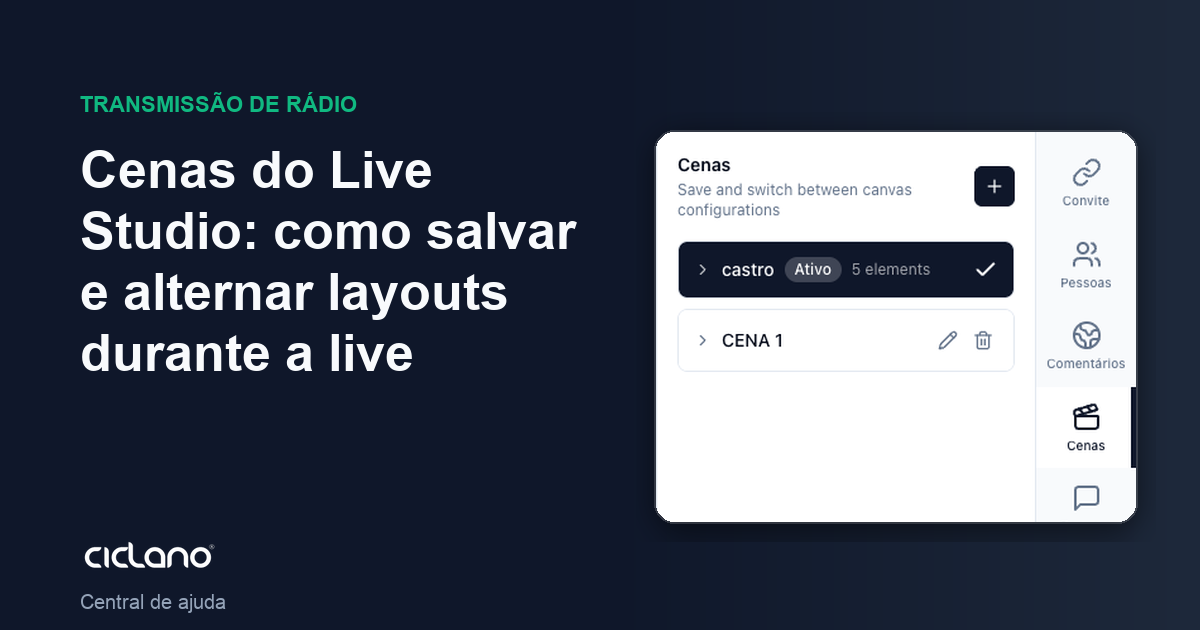
Building the screen takes time: the right layout, logo in the corner, banner with the name, brand background. A scene saves all of that under a name, and switching scenes applies the whole set at once — like OBS scenes.
Where it is: Live Studio › Scenes tab.
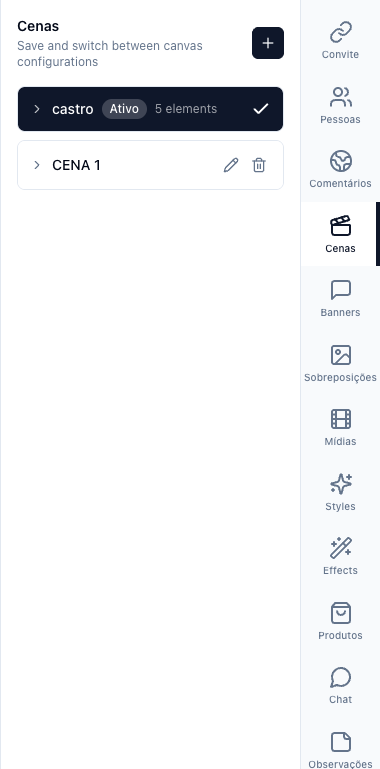
The numbers in parentheses refer to the image.
Save a scene
- Build the canvas: layout, who is on screen, active banner, visible overlays, background.
- In the Scenes tab (1), click + (save the current state as a scene), give it a name ("Opening", "Interview", "Countdown") and save. The scene lists the elements it kept.
Switch scenes
Click the scene. The canvas changes right away for viewers. The active scene is marked Active. You can keep adjusting after applying; to keep the adjustment, save again (a new scene, or overwrite through the scene's option).
Rename and delete
Each scene has Rename and Delete. Deleting a scene takes nothing off air — it only removes the shortcut.
What the scene keeps and what it does not
- Keeps: layout, which sources are on the canvas and where, active banner, visible overlays, background, active video.
- Does not keep: who is in the room (a guest who left does not come back with the scene), the microphone state, the broadcast quality.
- Scenes are saved in the application: they are there for the next live.