Live streaming panel (WebTV): what each menu item is
Your live video application has six areas: Home (the broadcast), Destinations (social networks and RTMP), Storage, Statistics, Logs and Help. See what each one does and where to start.
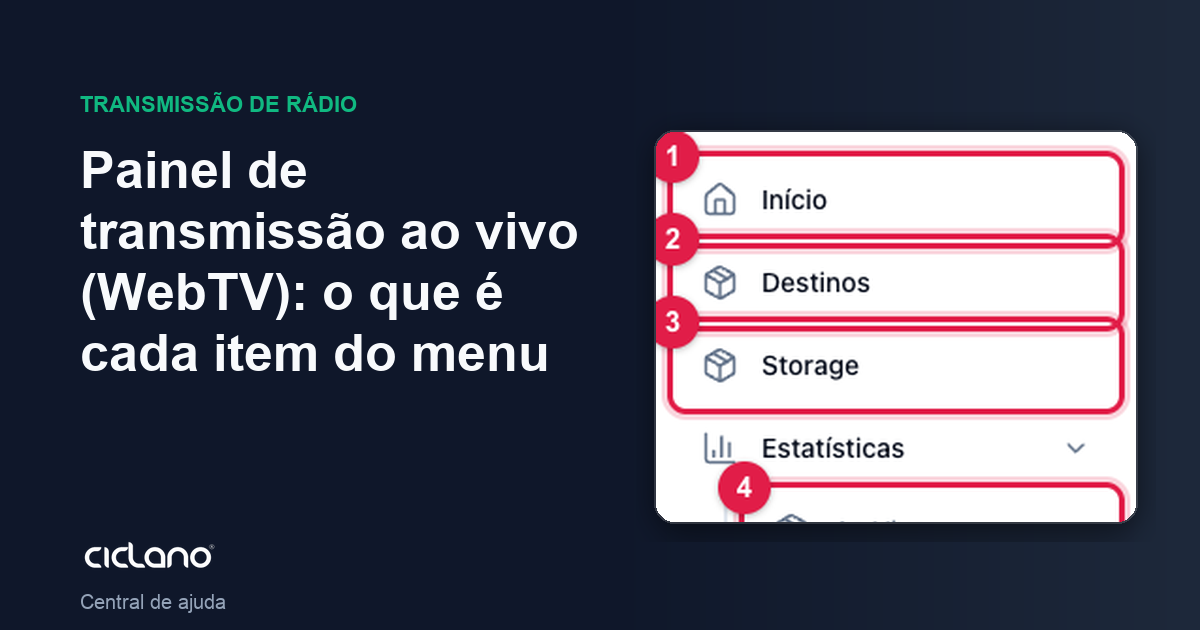
The live streaming application (WebTV) receives the video from your encoder (OBS, vMix, Wirecast, an RTMP camera) and delivers it at the same time to your player and to the social networks you mark. This article is the map of the panel: what is in each menu item and in what order to use it.
Where it is: Applications › your video application. The side menu changes according to the open application.
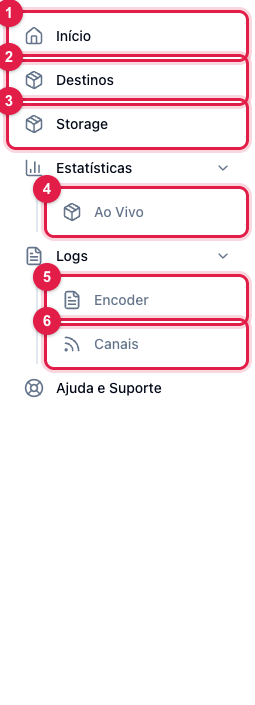
The numbers in parentheses refer to the image.
What each item is
- Home (1) — the broadcast screen: status, start and stop button, RTMP credentials, player, time on air, viewers, active channels and comments. It is where you stay during the live. See How to start and stop the broadcast.
- Destinations (2) — the accounts and channels the live goes to: YouTube, Facebook, Twitch, Instagram, LinkedIn, custom RTMP (TikTok and others) and partner channels. It is also where the title, description and thumbnail of the next live live. See Destinations: how the channels page works.
- Storage (3) — the files uploaded to the application (YouTube thumbnails, Live Studio overlays and media), with the space used. See Application storage.
- Statistics › Live (4) — the broadcast history: how many you did, viewers, peak and the details of each one. See Live statistics.
- Logs › Encoder (5) — every connection and disconnection of your encoder, with duration. It tells whether the live dropped because of the encoder or the internet.
- Logs › Channels (6) — what happened to each destination (channel marked, destination created on the server, failed to publish, token expired). It is the first place to look when "I marked the channel and it did not broadcast". See Encoder and channel logs.
Where to start (the order that works)
- In Destinations, connect at least one account (YouTube, Facebook…) or create a custom RTMP channel, and mark the channel that will receive the live.
- Still in Destinations (or through the Configure Title button on Home), set the title, description and thumbnail of the next live. See How to set the title, description and thumbnail.
- On Home, open the RTMP button and copy server and key into your encoder. See How to go live with OBS Studio.
- Click Start Transmission in the panel and then Start Streaming in the encoder. The status goes to Live when the encoder connects.
- When done, stop in the encoder and click Stop Transmission in the panel. The result is in Statistics.
If your application's menu also has Live Studio, you can broadcast straight from the browser, without an encoder, with camera, guests and overlays — it is a plan feature, with its own tutorials.