Live Studio: how to go live from the browser, without OBS (overview)
Live Studio is the broadcast studio inside the panel: camera, guests, scenes, overlays, banners and destinations, right in Chrome, with no encoder to install. See what it does, who it is for, and the flow of a live from start to finish.
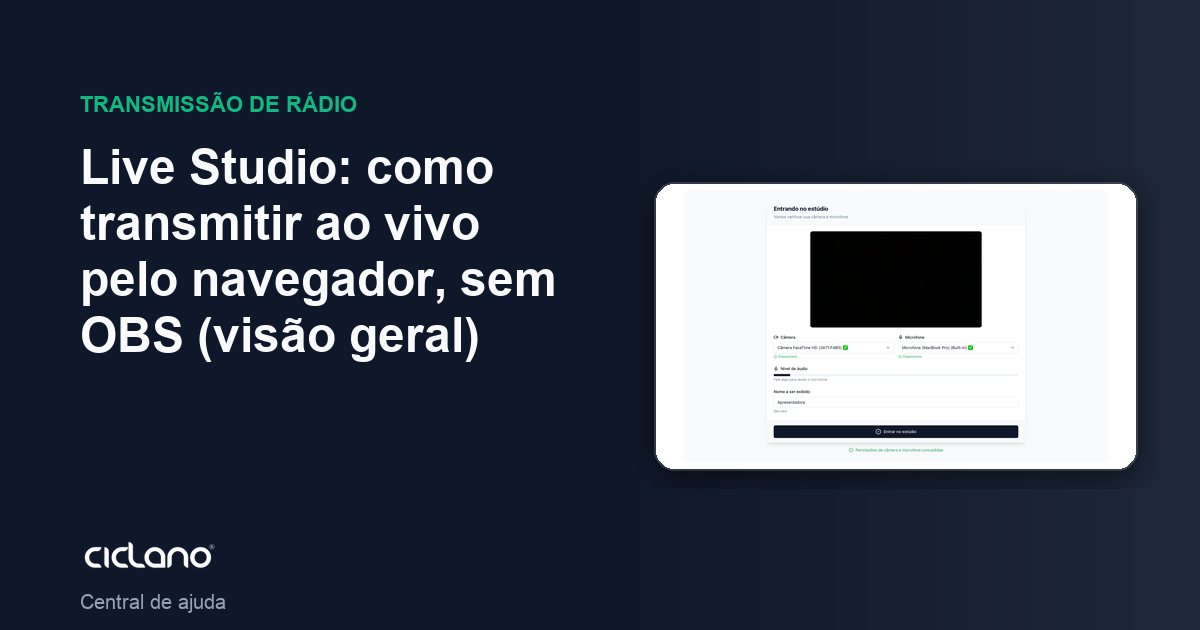
Live Studio turns the browser into a studio: your camera and microphone, guests by link, ready-made layouts, logo, banners, opening videos and products on screen — and the live goes out to the player and to the application's destinations (YouTube, Facebook, RTMP). Nothing to install; it works in recent Chrome, Edge and Safari.
Where it is: Applications › your video application › Live Studio (it shows in the menu when the plan includes the feature).
When to use Live Studio, and when to use OBS
- Live Studio: interviews, services, classes, shows with remote guests, sales lives — the presenter is at the computer, wants to invite people by link and build the screen without a technician.
- OBS or another encoder (step by step): a switcher with several cameras, capture cards, events with a technical crew, or a weak computer — the encoder sends the finished video and the panel only distributes it.
Both paths use the same Destinations, the same player and the same statistics of the application.
The flow of a live
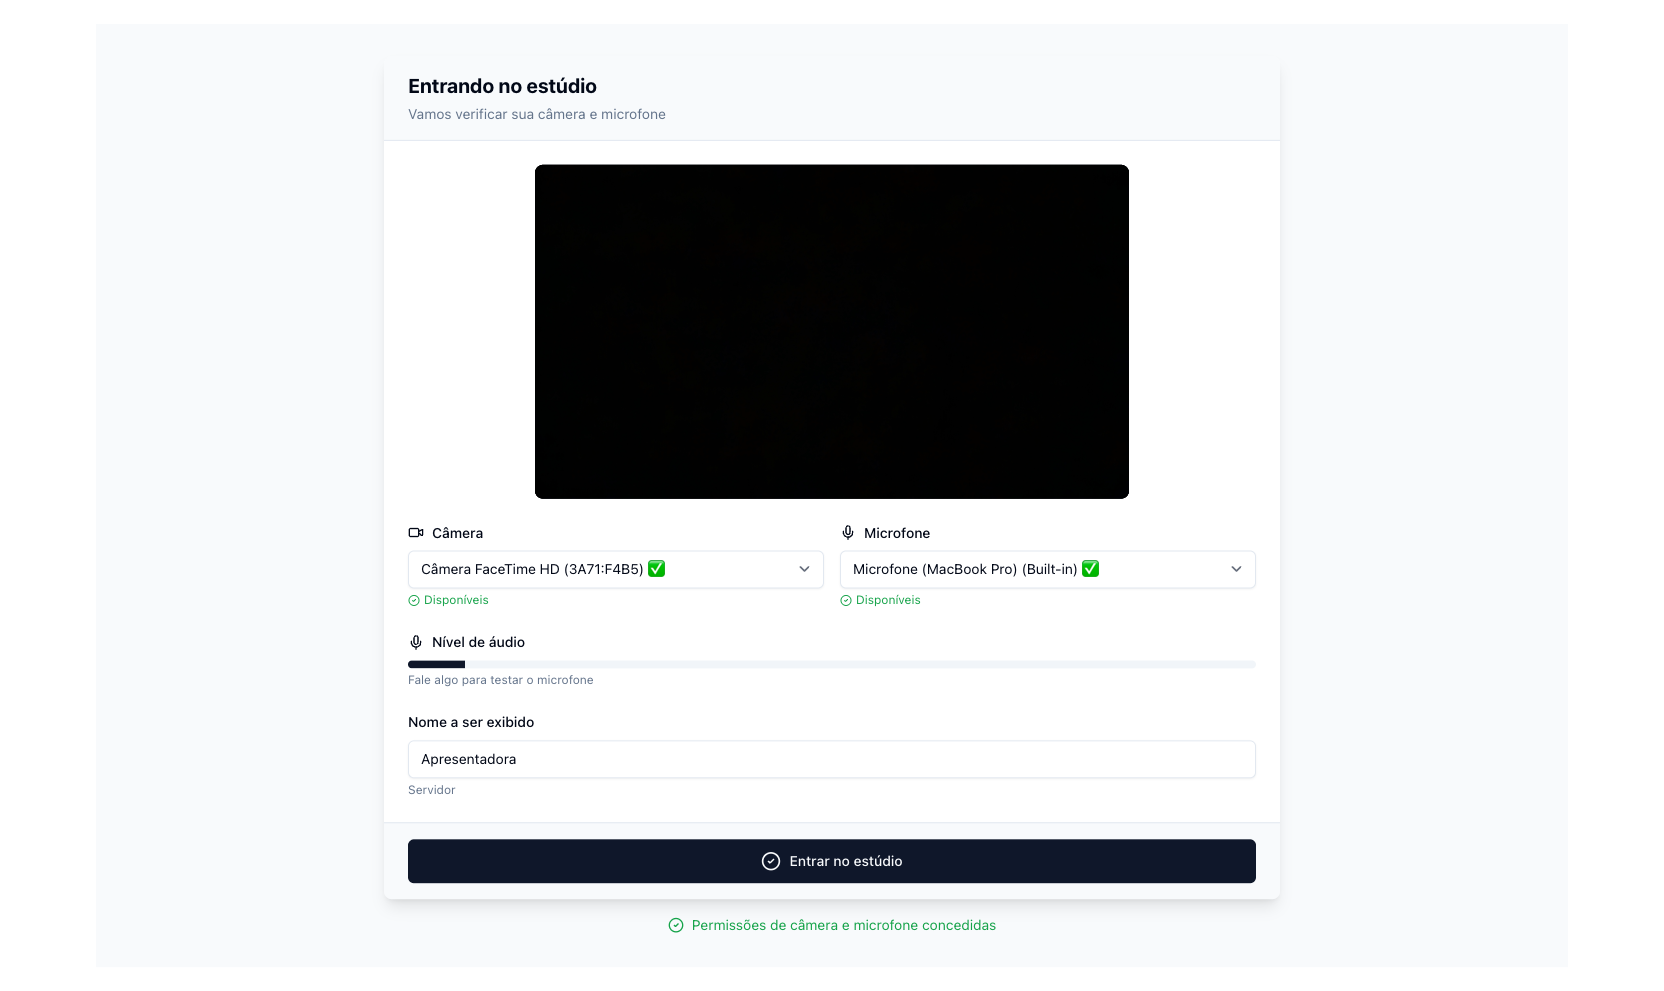
The numbers in parentheses refer to the image.
- Enter: pick the camera (2) and microphone (3), check the preview (1) and the audio level (4), type the name shown on screen (5) and click Enter the studio (6). See How to choose camera and microphone and enter.
- Build the screen: pick a layout, put the sources (you, guests, shared screen) on the canvas, add logo, background and banners. See The Live Studio screen.
- Invite: send the link from the Invite tab; whoever enters waits in the waiting room until you put them on screen. See How to invite guests.
- Go live: choose the quality and click Go Live. The destinations marked in Destinations receive the live. See How to go live and end.
- During: switch scenes, show a comment on screen, turn on a banner, play a video, present a product.
- End: Stop in the header and then Exit Live Studio. The broadcast goes to Statistics › Live.
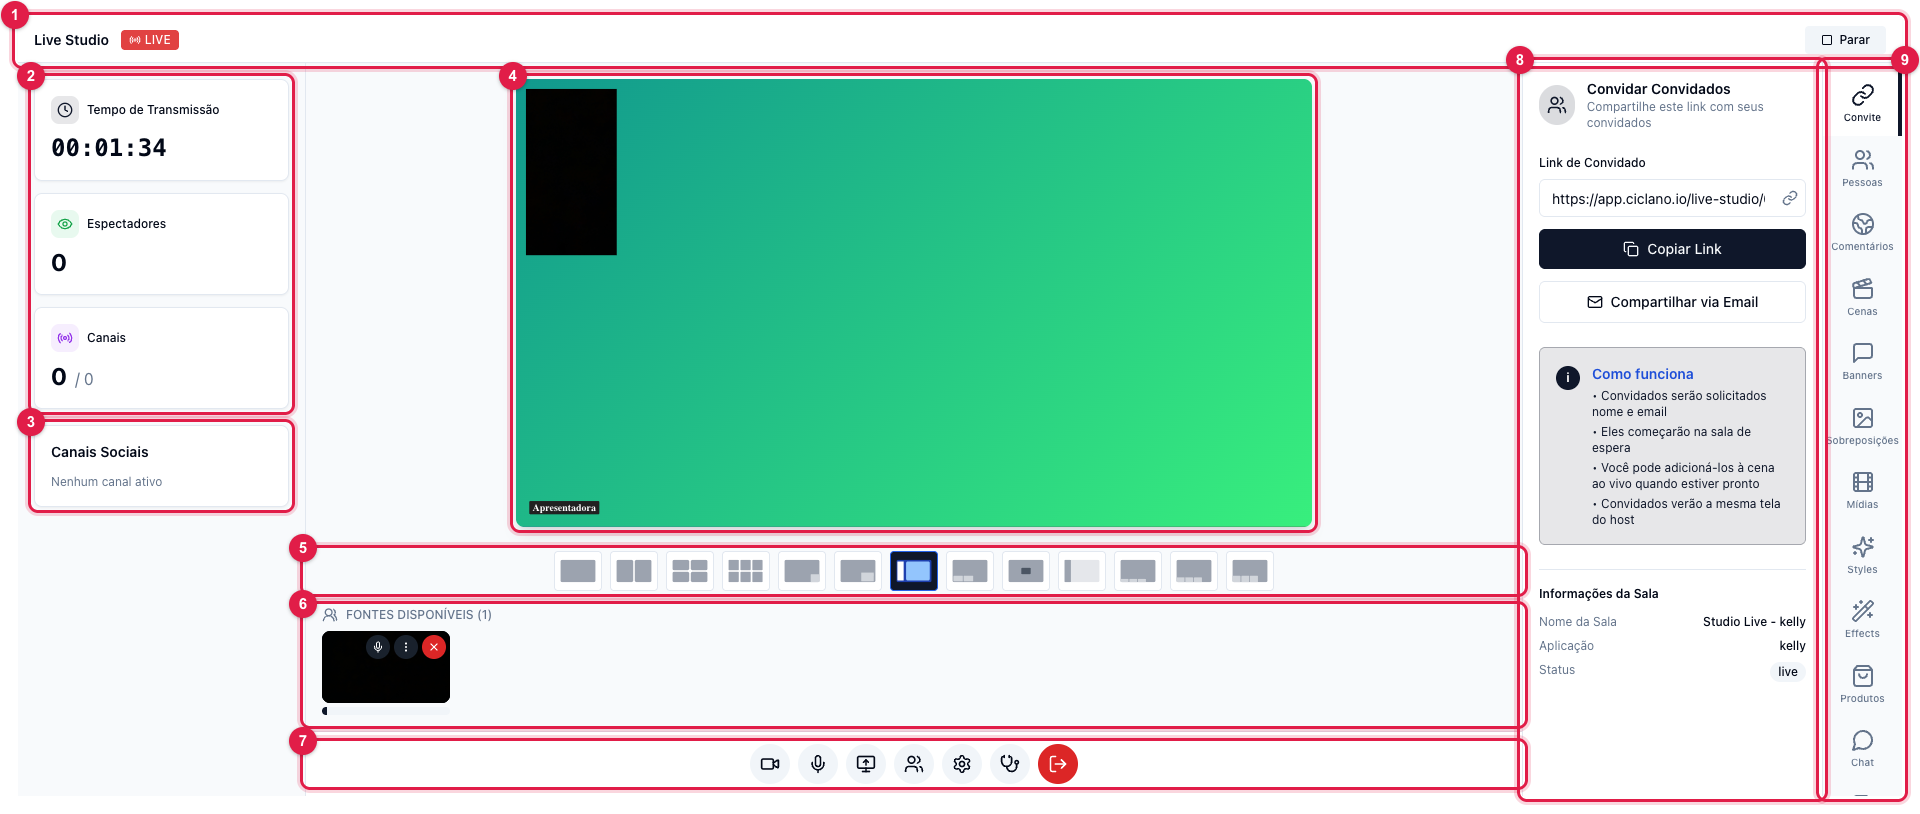
What the studio has (one article for each)
- Guests and participants — invite link, waiting room, put on and take off screen, mute.
- Scenes — save the built canvas and switch with one click.
- Banners — notices, the interviewee's name, scrolling ticker with a timer.
- Background and overlays — solid color or gradient background, logo and watermark, opening and closing video.
- Videos and audio — MP4/WebM clips and background music.
- Styles — brand color, theme, font, camera frame and the name on screen.
- Visual effects — blurred background, filters, appearance and makeup.
- Live Shop — products with a purchase link on screen.
- Comments, chat and notes — social comments on screen, team chat, your notes.
- Common problems — camera in use, permissions, stuttering, live not reaching the networks.
Requirements
- A current browser (Chrome, Edge or Safari 17+). Visual effects and background blur only exist in those.
- Stable upload: 3.5 Mbps for 720p, 6 Mbps for 1080p (the quality is chosen before going live).
- Camera and microphone allowed for the site in the browser — without them the Enter the studio button stays disabled.
- Live Studio opens only with your own account: subaccounts and support, even when entering your account, cannot open the studio.